The best 3 answers for ‘How to take a screenshot on Chrome?’ question

Do you know how to take a screenshot on Chrome? With different tools and without them? Did you know that taking screenshots is possible without additional apps and downloaded tools? Well, it is possible, and we are here to show you how to take a screenshot on Chrome in a few different ways.
First, we are going to talk about the hidden trick Chrome has and is the answer to the how to take a screenshot on Chrome question. And then we are going to tell you something about this cool Chrome extension that can help you not only with screenshots but with many other things as well, just to make your browser experience the best possible.
On this page:
How to take a screenshot on Chrome with PC?
The good news is there is an answer to how to take a screenshot on Chrome question, and the bad news is that you’ll need a developer’s menu to do it. At least if you want to take a screenshot on Chrome without using any additional tools or installing any plug-ins.
But there is no room for you to panic because here it is a step-by-step process that will make taking screenshots super easy. So, if you are a Windows user, let’s start. If you are not, skip to the next title in our blog article.
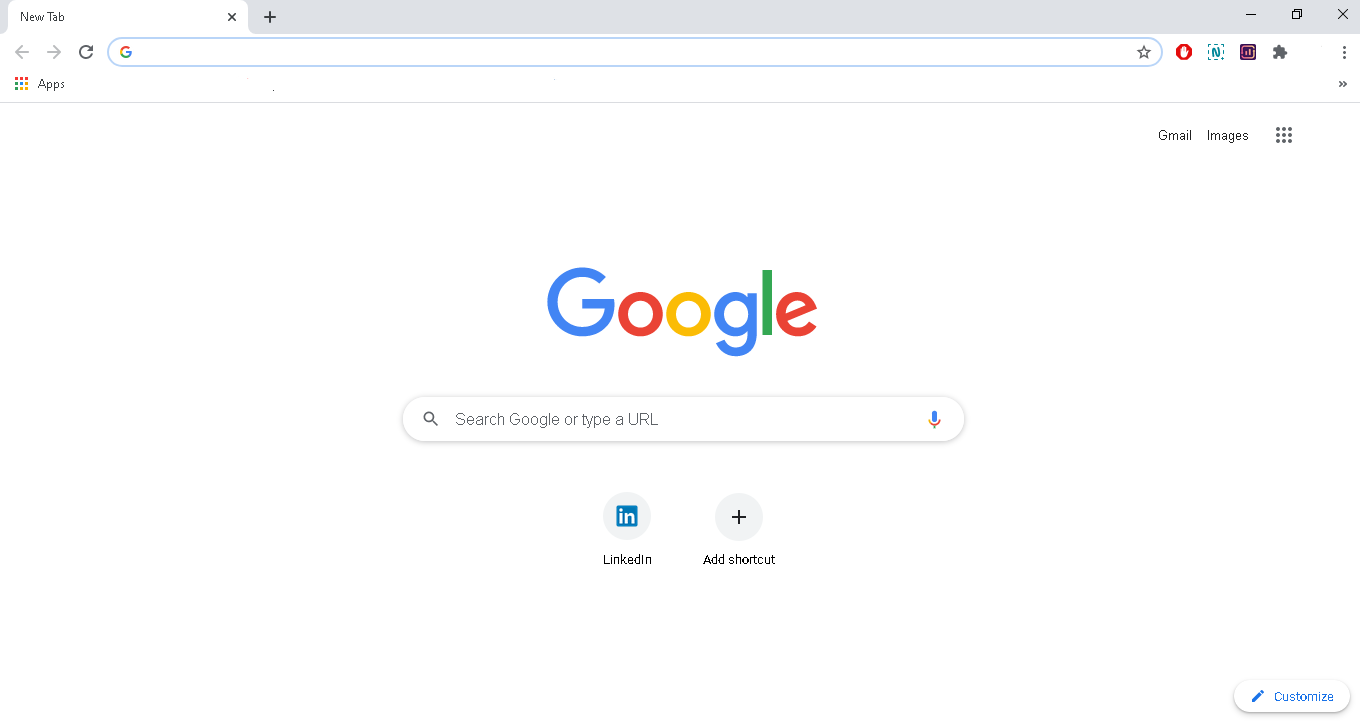
Step 1: Open the Google Chrome browser on your PC.
Step 2: Press Ctrl, Shift, and the letter I button at the same time. The Element Inspector menu will show up on your right. It lets you see the HTML of a current web page. This might look scary to you, but don’t worry, just follow the next step.
Step 3: Press Ctrl and Shift P to search through a list of developer tools.
Step 4: Type “screenshot” in the area that appears at the top, and you should see a set of four options: capture area screenshot, capture full-size screenshot, capture node screenshot, and capture screenshot.

In case you are wondering what each one of them does, here is a quick explanation.
The capture area screenshot option allows you to select a specific part of the screen and save that part as a screenshot. If you pick this option, you will be able to drag a box with the mouse anywhere you want. As long as it is in the Chrome window, of course.
The capture full-size screenshot option will save a picture of the entire web page, starting from the top and all the way to the bottom.
The capture node screenshot option is mostly for developers. It lets you capture an image of a specific HTML element that is selected in the Element Inspector.
The capture screenshot option is a standard screenshot that we’ve all used to. It saves everything visible on your screen.
Step 5: Choose one of the options from the previous step and press the Enter button. Now, your screenshots are automatically saved.
Step 6: Go to Chrome’s download manager and find your screenshot.

And there you have it, the answer to how to take a screenshot on Chrome question.
One more thing, in case you are wondering what is the difference between using Print Screen and this Chrome way is that using Chrome you’ll get only what is inside the Chrome browser’s borders.
How to take a screenshot on Chrome with Mac?
If you are a Mac user, there are good news for you as well. Yes there is an answer to how to take a screenshot on Chrome question, and the process is similar as the previously mentioned. The only difference is in shortcuts. After all we are talking about doing the same thing in two OS’.
Regardless of a model of your device, here is a step-by-step explanation to take a screenshot on Chrome without adding any additional plug-in to your browser.
Step 1: The first step is completely the same at both cases, and that is to open your Google Chrome browser.
Step 2: On your Mac device, in this step, press Command, Option and letter I button at the same time. The Element Inspector of developers menu will show up on your right. Now, you will see the HTML of a current web page.

Step 3: Next, press Command and Shift P. This step will allow you to search thought list of developer tools.
Step 4: Type “screenshot” in the search area, and you should see a set of four options: capture area screenshot, capture full size screenshot, capture node screenshot, and capture screenshot.
We already explained what each of them means, but let’s do a quick recap once more. The capture area screenshot option allows you to select a specific part of the screen and save that part as a screenshot. The capture full size screenshot option will save a picture of the entire web page. The capture node screenshot option lets you capture an image of a specific HTML element that is selected in the Element Inspector. The capture screenshot option saves everything that is visible on your screen.
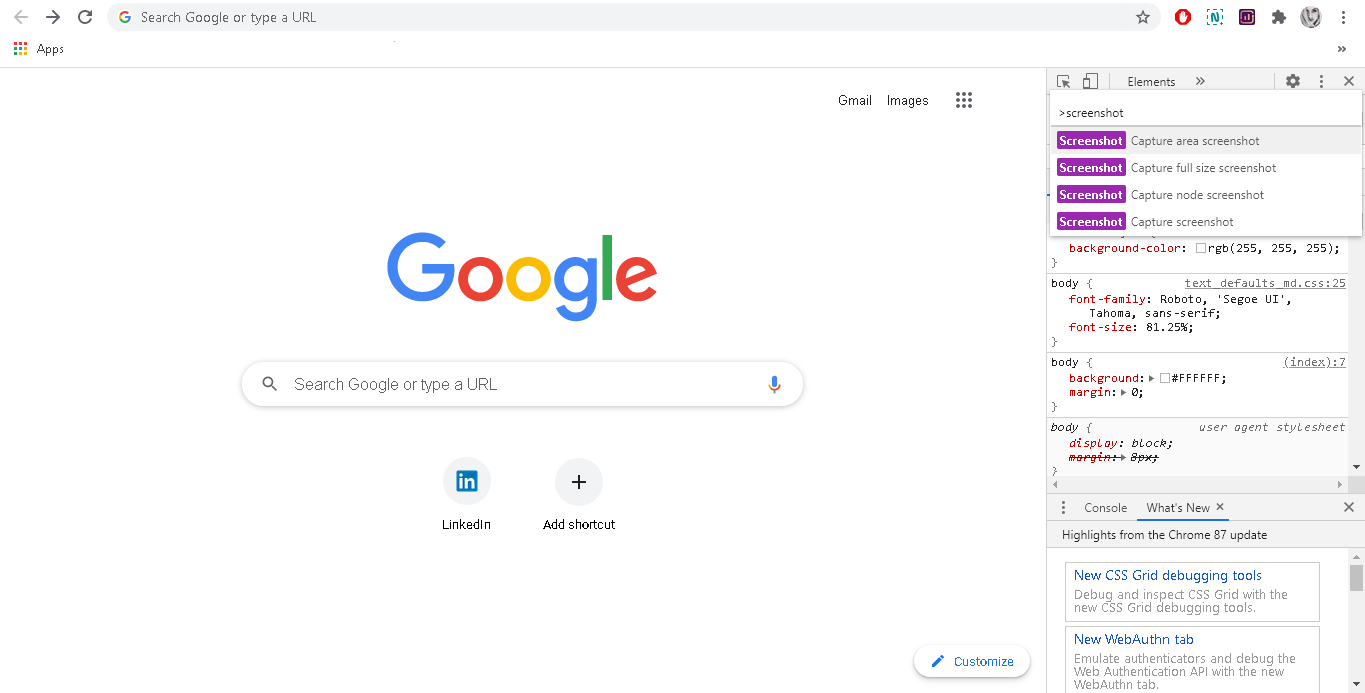
Step 5: Let’s get back to next step. Choose one of the previously mentioned options and press the Enter button.
Step 6: Go to Chrome’s download manager and find your screenshot.
And there you have it, you just took a screenshot on Chrome with your Mac device. It is quite simple, don’t you think?
But, if six steps are too much for you to take, there is always an option of using free tools and extensions that can help you with that.
How to take a screenshot on Chome with free tools?
If the whole story about the developer’s menu is not your cup of tea, no worries, there are plenty of tools you can use to take a screenshot on Chrome. One of the best choices is an extension called Chrome Tools. This tool is super easy to use, and all you have to do to explore its full potential is to download it from Chrome Web Store.
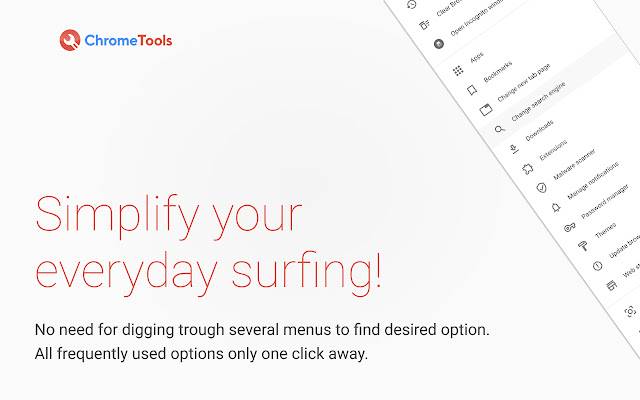
After installation, a small icon for this tool will appear at the top right corner of your Chrome browser. If the icon isn’t there, click on the icon that looks like a puzzle, find the Chome Tools icon, and pin it to the bar.
The answer to how to take a screenshot on Chrome question lies in the Screenshot option of the previously mentioned tool. But that is not the only feature this powerful tool has. With Chrome Tools, you can even video record your screen. Pretty cool, right?
There are also options for browsing history and browsing data, as well as Apps and Bookmarks. You can also use the Incognito window in two clicks. Not to mention finding Extensions and Downloads the fastest way possible.
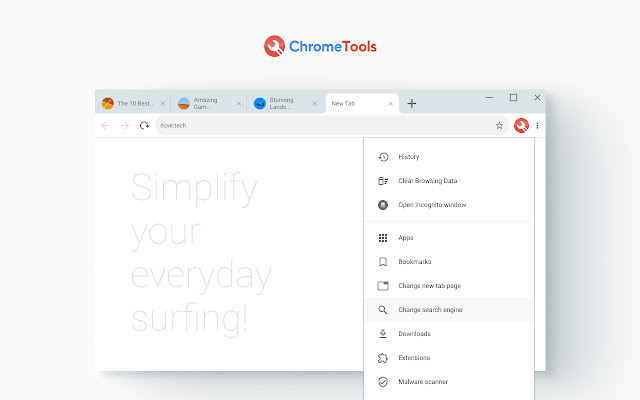
Chrome Tools also allows you to review and change websites that are blocked. It also finds harmful software on a computer, and guess what, it removes it as well.
After reading about some of the most popular features of this Chrome extension, do you think that it can become your favorite Chrome tool? It can, and it should. Because it’s not just free and useful, it has everything you can imagine to help you with your everyday browsing experience.


