How to convert JPG to SVG using Adobe Illustrator?

Do you know how to convert JPG to SVG? Trust us, it is noting complicated, and there are a few ways to do it. We will show you our top two picks, and it’s up to you to choose which one you prefer. But first, let us remind you what SVG files are and why do have them in the first place. Then, we’ll get back to the ‘how to convert JPG to SVG’ part of the story.
On this page:
What is SVG file format?
The SVG file format is the perfect pick for every non-photographic imagery on websites. And the best part is that they are completely SEO-optimized, meaning that they are widely used. Another great feature of this file format has is its size. SVG files are usually smaller than other image formats, and they are capable of dynamic animations.
In case you are wondering, SVG stands for scalable vector graphic, and it is the file that stores two-dimensional images on the internet. Unlike other, SVG stores images as a vector. And vectors are made of points and lines between points. They usually store color information and text. Plus, image quality stays untacked after scaling it up or down.
All previously mentioned features are the reasons why we are determinated to show you how to convert JPG to SVG.
How to convert JPG to SVG using Illustrator?
Adobe Illustrator is one of the most popular tools amongst graphic designers. After you try all its features, you’ll understand why. Luckily, one of the many pros of using Illustrator is its ability to convert JPG to SVG. And here are the steps you can take to do it yourself.
STEP 1
Choose the image you want to convert to vector, and uploade it to Illustrator. The ideal option would be the image with a white or transparent background. Another plus is a single subject photo rather than the landscape one. After all, vector images are usually used for logos and similar recognizable images.
STEP 2
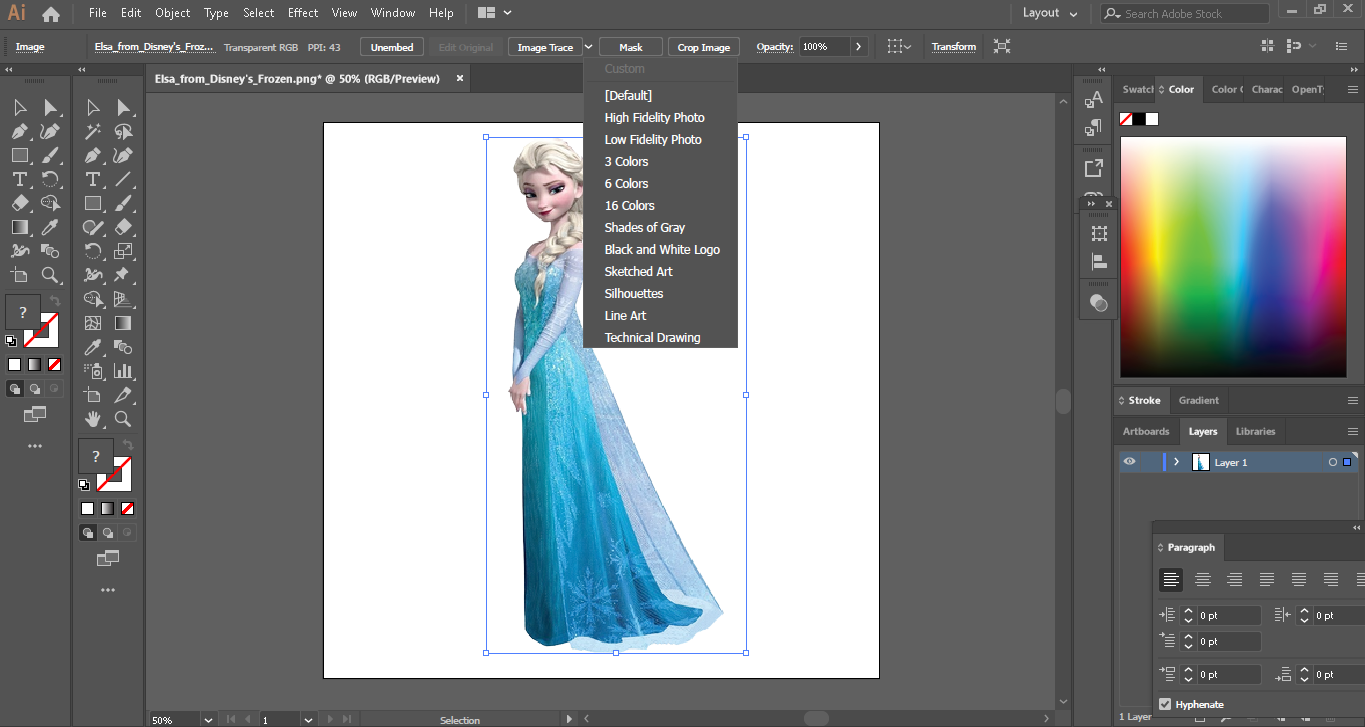
Now, it is time to use one special tool to vectorize your image. It is called the Trace option, and you can even choose which preset you want to apply. And it will do all the job for you. All you have to do is to find this option on the top of your Illustrator window. Click on the Image Trace button and choose the preset from the drop-down menu. After choosing the right preset for you, tracing will begin.
STEP 3
Once you clicked on the wanted preset, the image will go through the tracing process. Basically, the image will stay the same, but it will become a lot sharper.
STEP 4
Now, open the Image Trace Panel to tune the conversion. Adjust the settings regarding colors and mode, and if you want to re-use them, click on the Manage Presets button. Then, save your settings as a new preset.
STEP 5
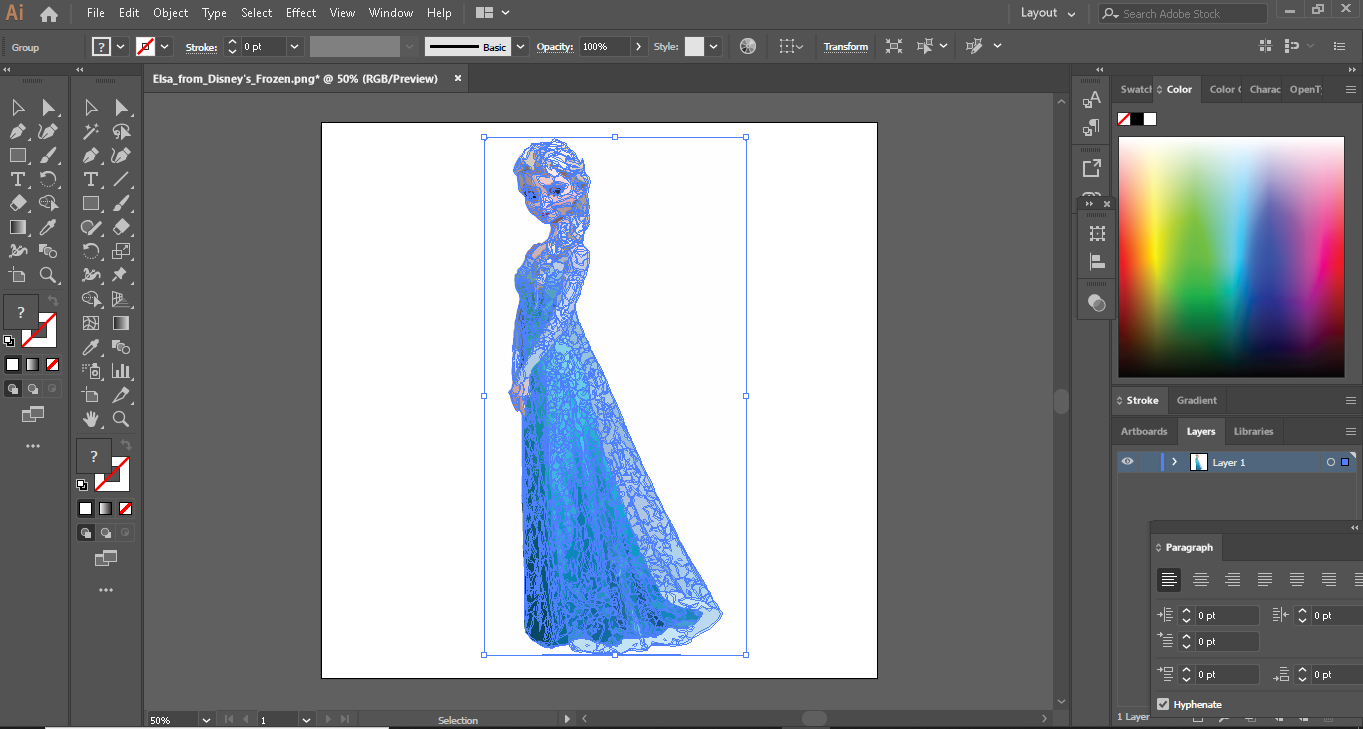
The next step in the ‘how to convert JPG to SVG’ process is color ungrouping. Select your trace image, and click on the Expand button right after. This will make all the shapes outlined in blue. You can find this button on the top of the window. Then, do the right-click on the image and select the Ungroup option from the menu. It will separate color shapes into individual parts.
STEP 6
The final step is saving the image in SVG file format. Go to the File option at the top right. Then, choose Export and Export as an option right after. Find the SVG file format and click on it. In the end, click on the Save button.
And there you have it. You just used Illustrator to answer the ‘how to convert JPG to SVG’ question. Sure, it is a bit long and complicated process at first. But after just one file conversion, it will become a piece of cake for you.
How to convert JPG to SVG online?
In the end, we have to mention the easiest way to convert JPG to SVG. The online way. It is a simple three-step process with one of the best and trustworthy converters you can find online. It is called Converter365, and yes, it has JPG to SVG converter as well. Besides it’s easy to use, this online converter has the best possible quality of file conversion. In case you are wondering how to use it, here it is.
STEP 1
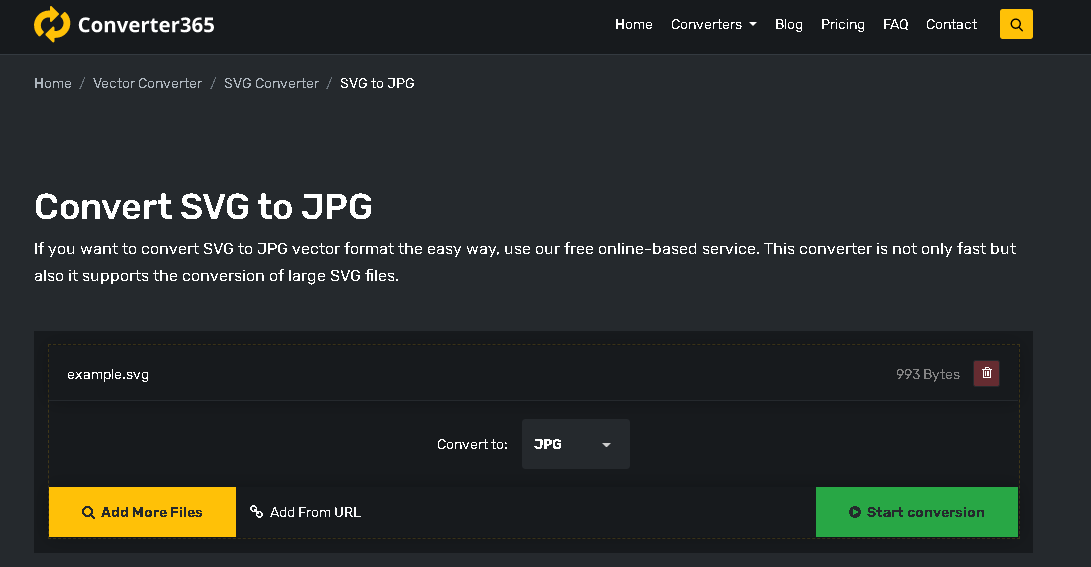
Upload your files online. Open JPG to SVG converter and find the upload box. Use a simple ‘drag and drop’ method or add a link to your files.
STEP 2
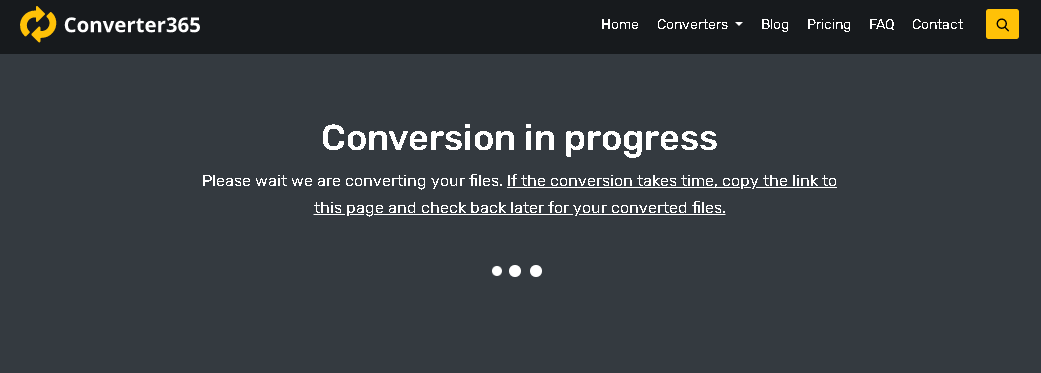
After your files are uploaded, find the ‘Start conversion’ button and click on it. Then wait a few moments for conversion to be finished.
STEP 3
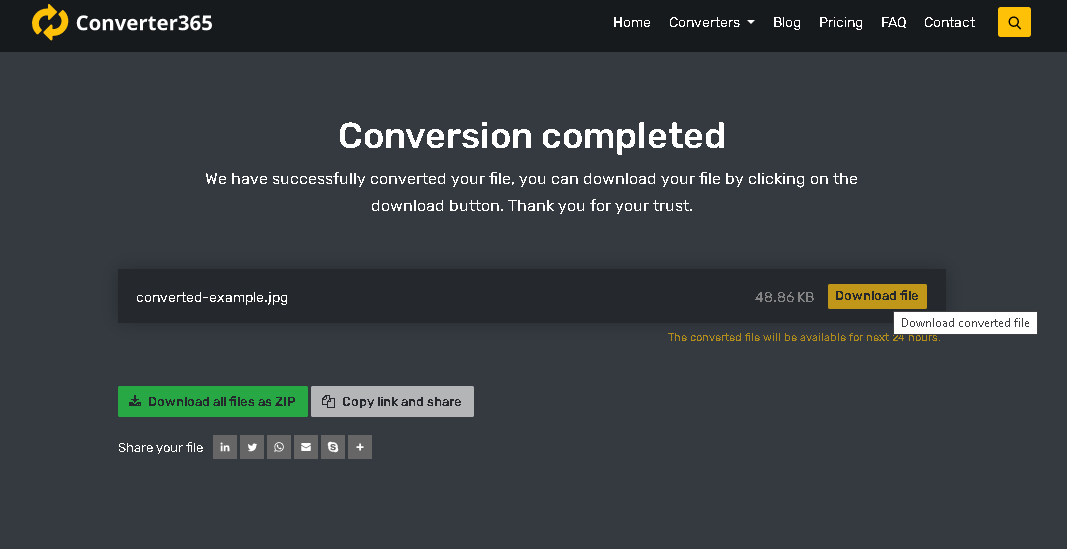
When the conversion is done, download your files. Just find the download button and click on it. Files you just converted from JPG to SVG will be on your PC in no time.
And that is it! You have the answer to the ‘how to convert JPG to SVF’ question. To be precise, you have two different answers to this question. As we previously mentioned, it’ up to you which one you want to use.
Just in case you are better with the how-to tutorials, here’s another one for converting JPG to SVG:

